
3D Image Do’s and Don’ts
5 Points to 3D Architectural Perspective Success
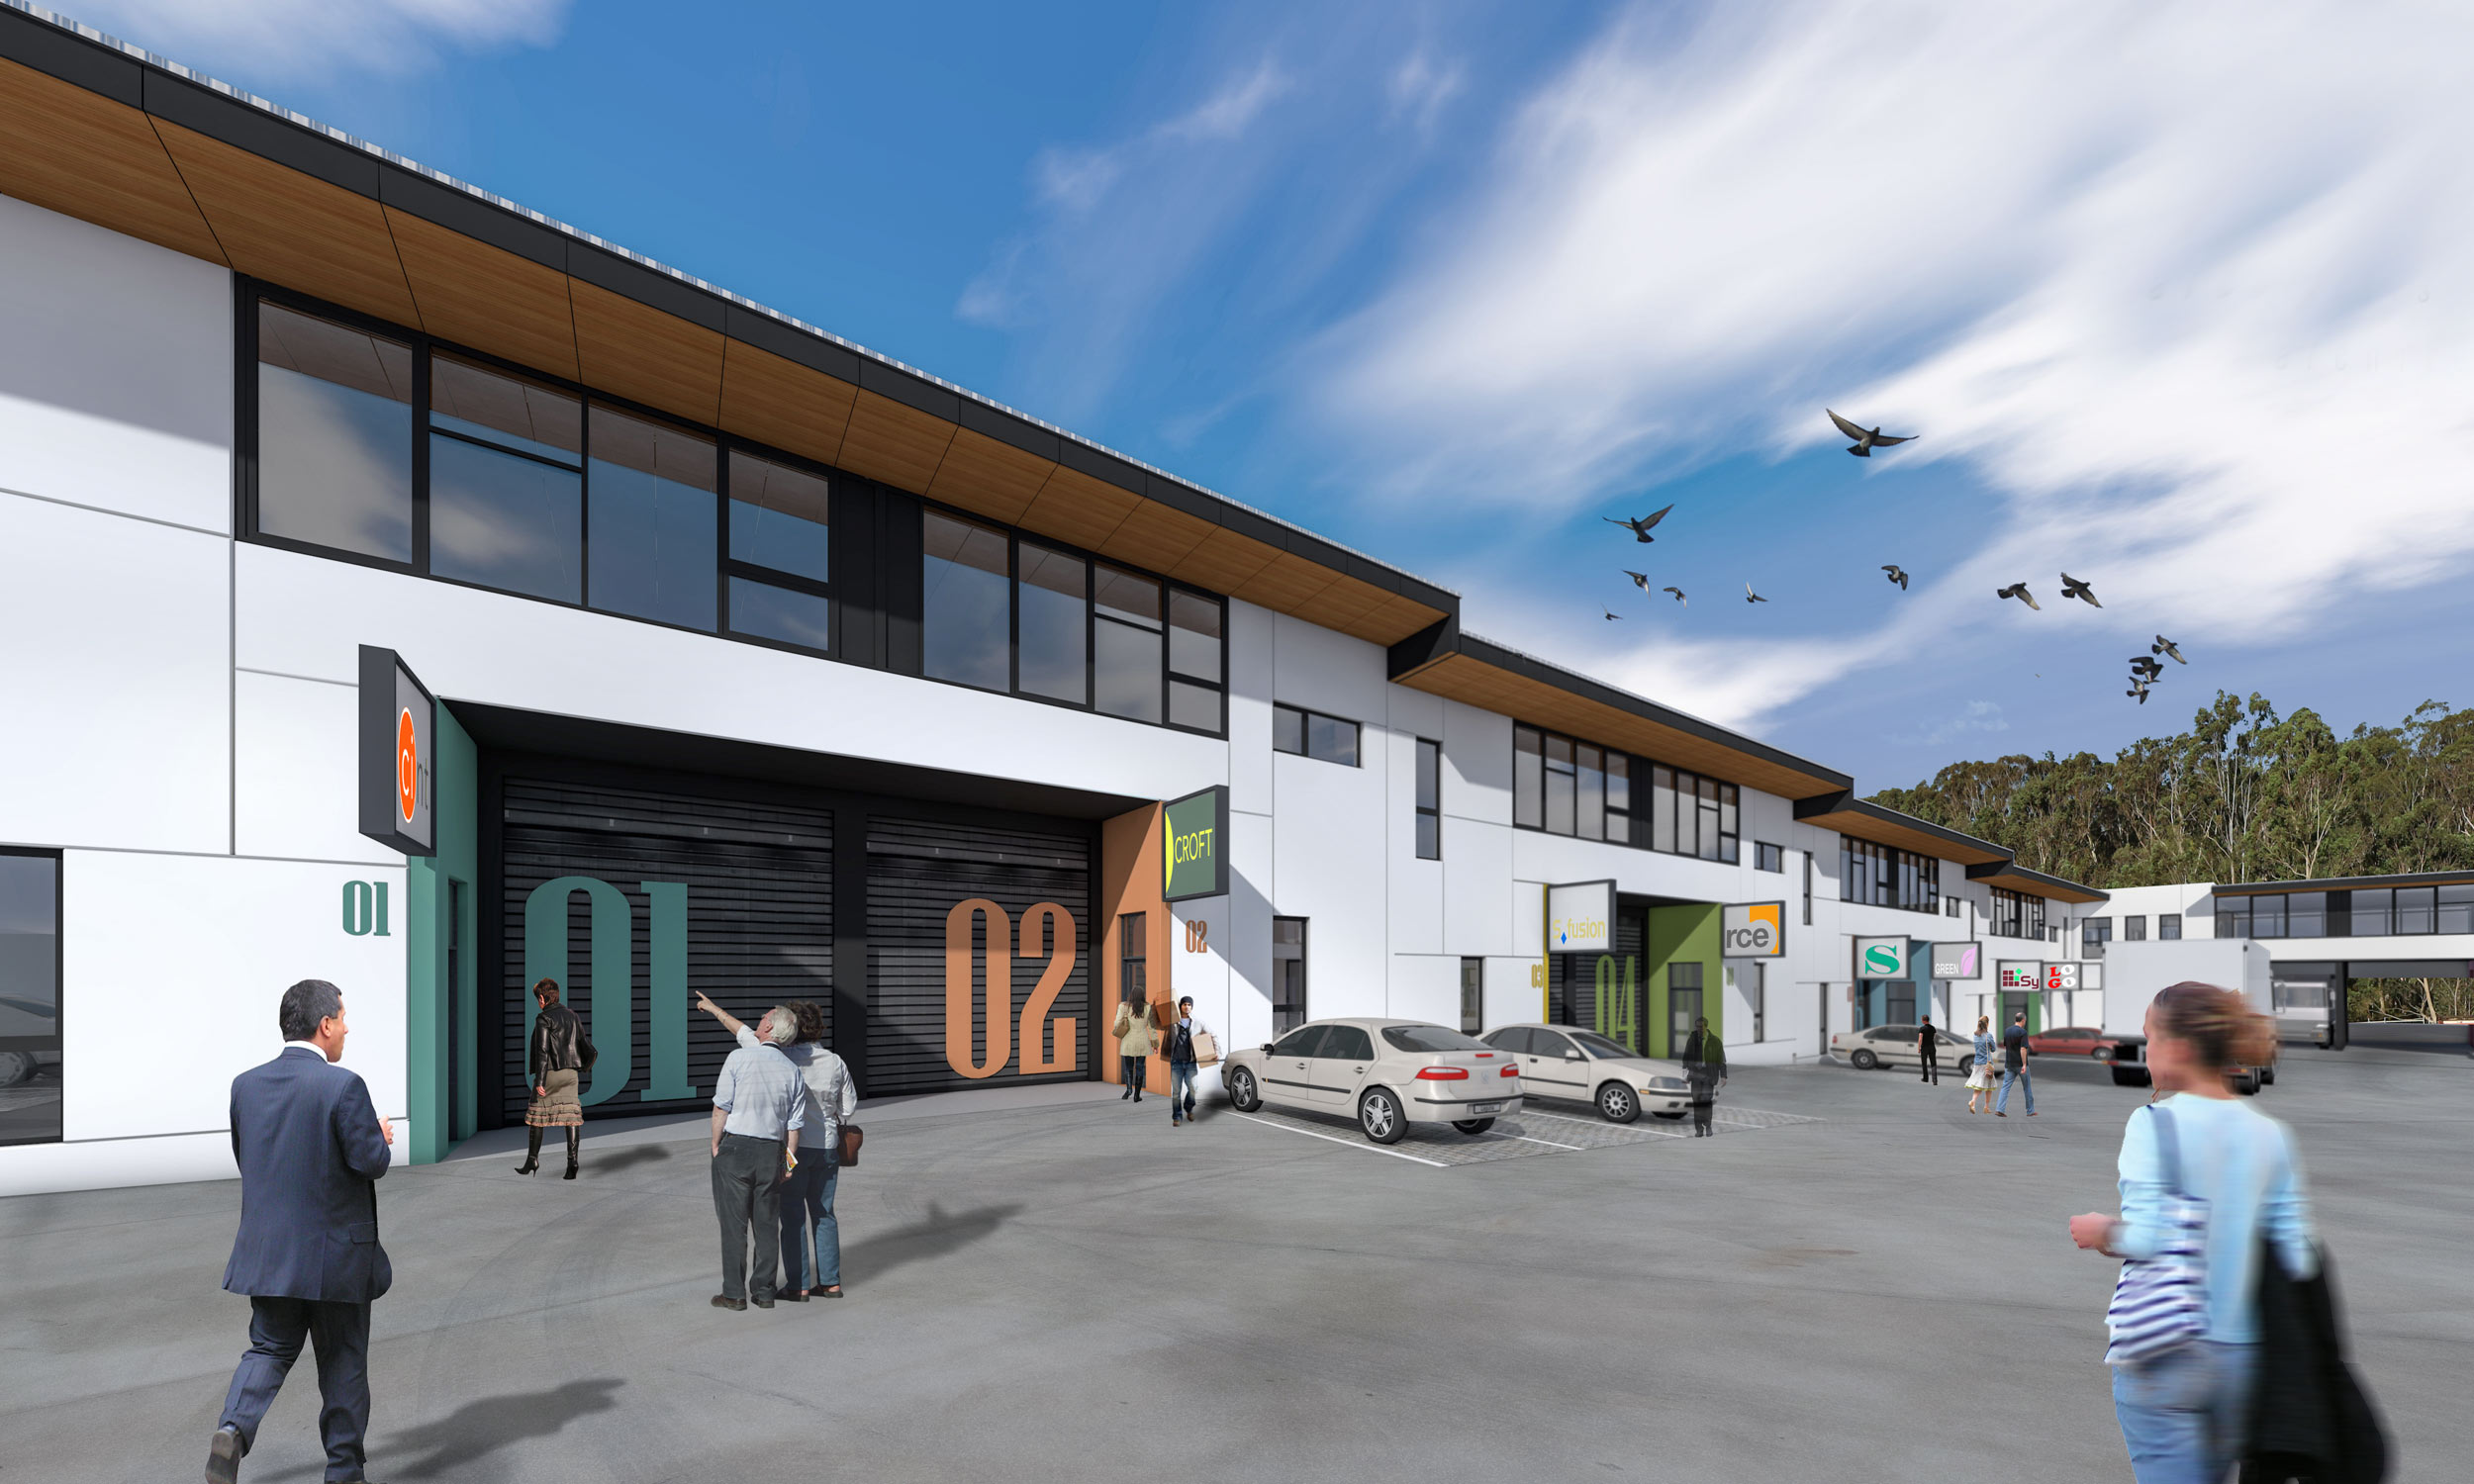
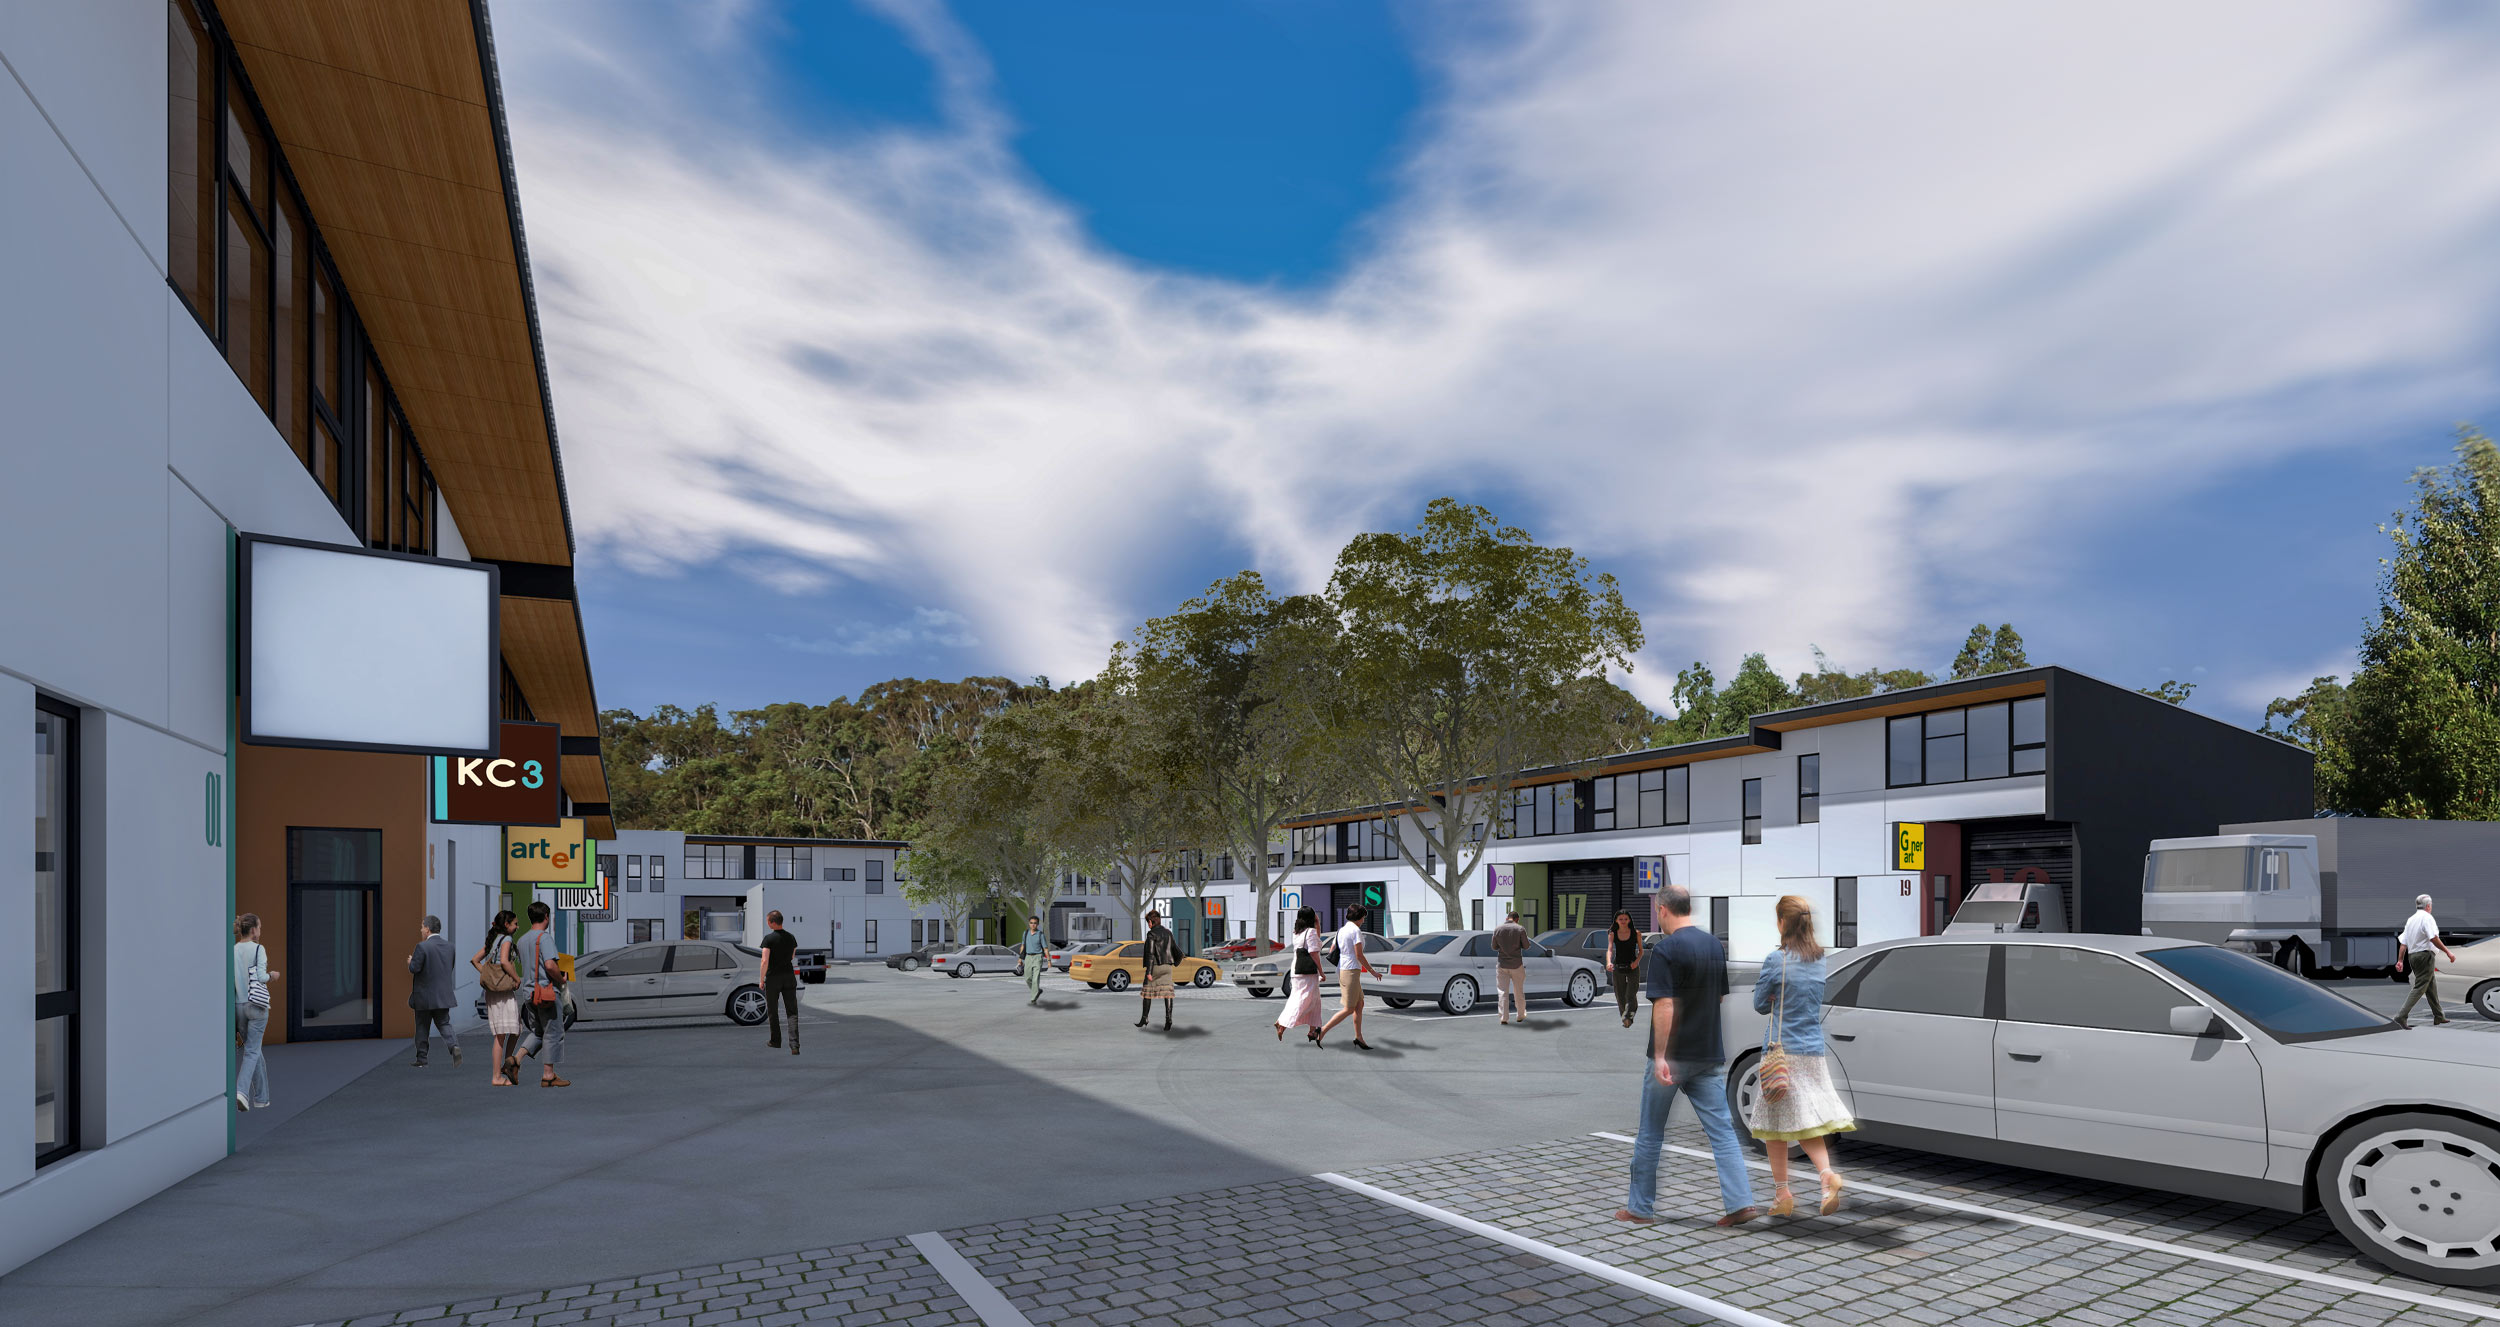
Last week we were given some 3D perspective images to use in a marketing campaign we are conducting for our client. The images had been prepared by the project architect. It’s likely that you will agree that there are some issues that simply detract from the quality of the architecture. Also some problems reduce the effectiveness of these as 3D marketing images.
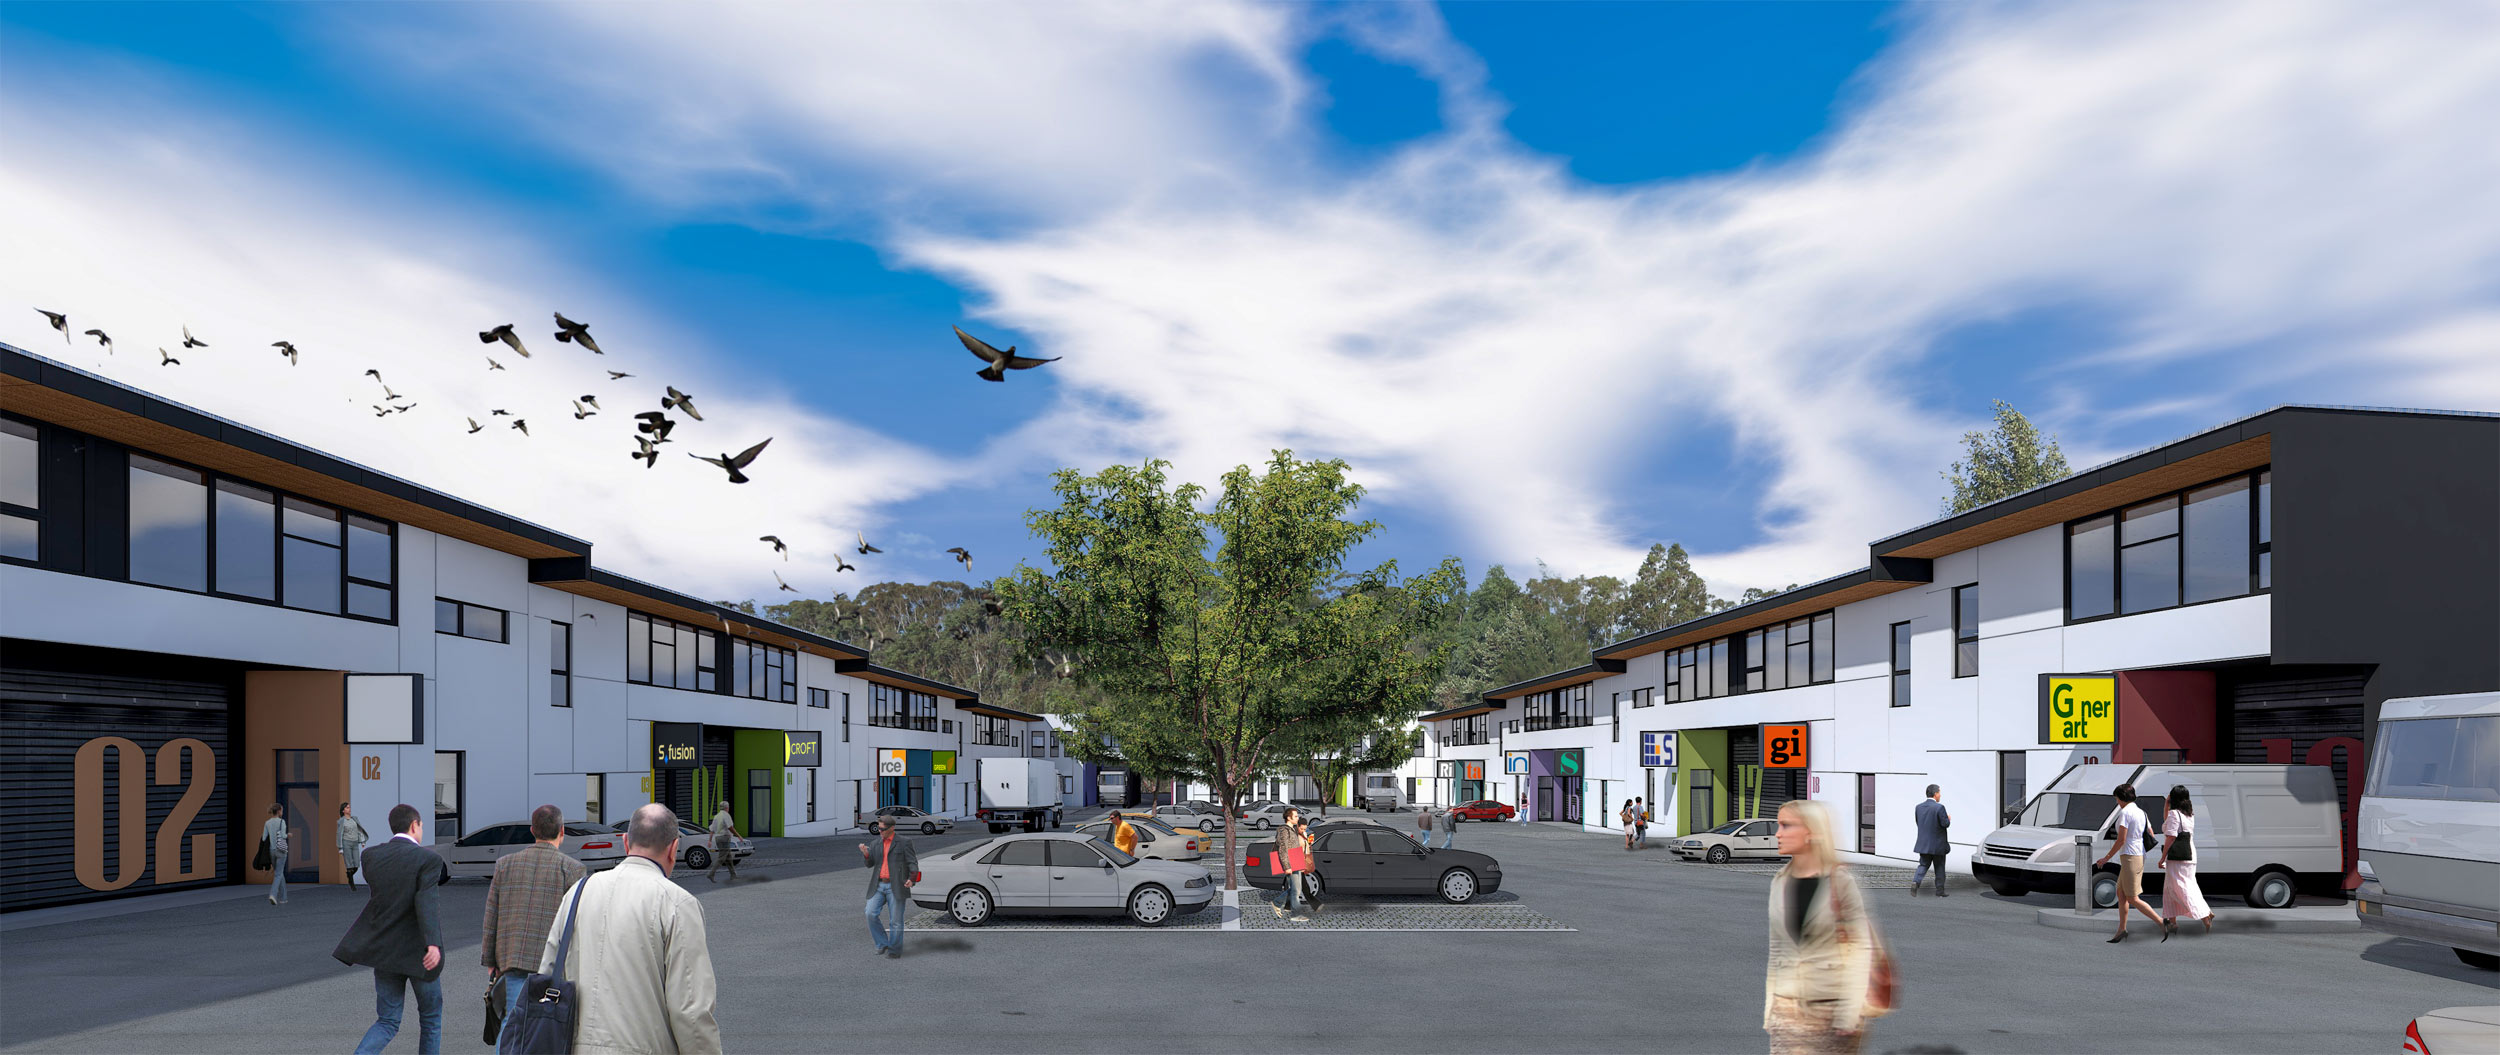
Issues such as too many people included. Too many birds. A towering background tree backdrop that flattens the depth and makes the buildings look inadequate.
At a glance I was certain that we could do a way better job of these pictures. But, with time against us, since the campaign was on a tight timeframe, I advised our client right away that we should not redo the images.
Work our ‘Creative 3D Perspectives’ magic on these renderings
Rather, we should get the layered photoshop files and simply revise the base image. Not only would this work be a fraction of the cost of redoing the images, but there would be no delays of 3D image rendering required. That is because all the imagery editing is readily available in Photoshop layers. Read on for the do’s and don’ts…
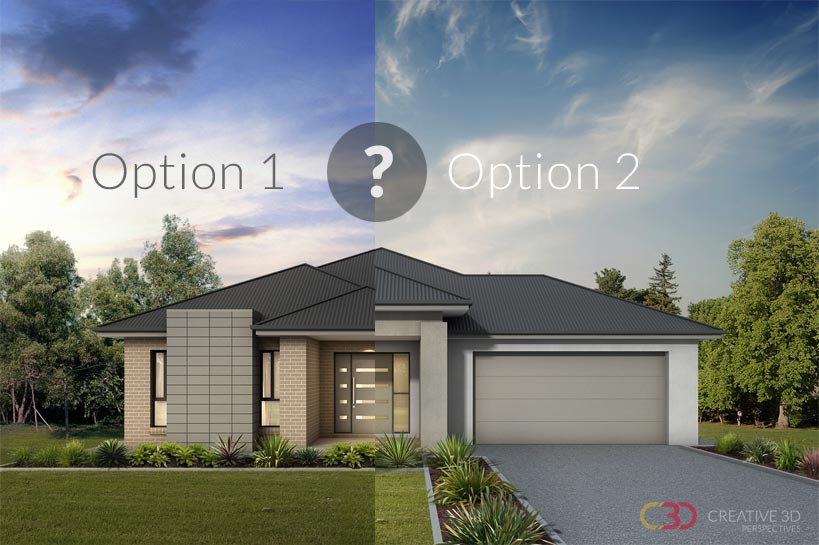
Have a look at the before and afters at the end of this page. And decide for yourself. Did we do decent job?
But before getting into Do’s and don’ts, or what we did. Let’s take a step backward to define the ingredients of a successful these 3D architectural perspective.
1. Firstly, it needs to be accurate.
Accuracy in the architectural design may seem like a no brainer, but is sometimes overlooked at the start of a project. Although it’s hard to stuff up this stage. (Since all the dimensional data is included inside the architects’ CAD file – the .dwg). Bearing in mind the do’s and don’ts, sadly mistakes still happen!
How? Easy. get the Do’s and don’ts right for a start. For example, after a slight filing error, a client sends us a CAD / .dwg design file without first checking that it’s the final, and approved design. This can cause complications later. After your architect reviews the first wireframe draft and it looks wrong. It’s inefficient, and wastes time to redo 3D models. Simply because the incorrect source file has been supplied. It wastes valuable time. This in turn, adds to the cost of your project. And blows the timeframe because it duplicates work. (Work that should have been a single stage: CAD file, to wireframe. Instead it goes more like CAD to wireframe, back to CAD, wireframe. And so on).
Accuracy in the supplied CAD file is super important
It’s also super frustrating to go back and forth with design changes at 3D stage.
It really pays to sort out the design before beginning the 3D rendering stage. Although we mitigate risk and keep costs as low as possible by first rendering a wireframe for checking. It’s still a smart move to finalise all design details before assigning ‘Creative 3D Perspectives’ to work on your 3D image.
2. Secondly, consistent textures and lighting source.
Like your design, your choices of materials, textures and colours must be locked in. Before beginning the 3D rendering stage. This is imperative. Because we cannot possibly show you all the variations in a single project. The list of variables is endless.
Then using your selection we ensure that the textures are consistent, from all angles, and realistic. The eye would see the change in textures if it’s wrong. For example smaller grains of concrete further from the camera and conversely more detail being visible closer to the viewpoint. The human eye/brain can figure out if this stuff is wrong! Our aim is to create a 3D perspective that looks convincing.
Showing your architectural design in the best way possible
This includes making sure that the lighting is consistent and that shading looks 100% correct in all the content. And, if it’s a daylight image, the sunlight must be from one single angle only. Not multiple angles, and not “bright” on one object and “dull” on another. CONSISTENCY is the key.
For more details, see my post “Tips for a Successful 3D Project”.
3. Thirdly, appropriate landscaping
I”ll keep this point brief. There is nothing worse than seeing exotic plants used where they don’t belong. Full stop.
Get a planting diagram to us along with your plans, and we will do our best to match all the plants and shrubs as closely as possible. We will ensure that the SCALE is correct, along with colours that are a match to the ambient lighting used in the image. The same applies to any specific timbers or hard surfaces used in landscaping. If a planting design exists, supply it with the plans.
It will be well worth your trouble to ensure that your designer provides the appropriate landscaping design, and we will implement it visually in 3D imagery.
4. Fourthly, human scale
As I always tell my team: “Get the people right people!” 🙂 That means physiology, context and content. If it’s an industrial estate forecourt for example, use people that look as if they belong there, e.g. a “boofy” bloke in safety gear or workware. NOT a glamorous high street shopper stepping out in stiletto heels. A ute (aka pickup truck). NOT a sleek sports car. Using the appropriate people and vehicles will help to make the 3D image truly convincing and will engage with the target audience. After all, these are marketing images so must be geared for marketing usage.
(Taking into account my Do’s and Don’ts).
5. Lastly: photoshop final touches for 3D accessories.
This takes into account all the above points since this is the final stage. The layer of “gloss varnish”, as it were. It’s the addition of finer details that really bring the image to life. It’s what makes the image look photorealistic in every sense. Items like background, sky, shadows, and other natural-looking details.
BEWARE! Going all out, and adding too many fine details, items/people with deep shadows, conflicting lighting angles, or camera angles? You can easily ruin a great image that has nailed all the points made above! As you can see from the “before and after” below, the final touch makes ALL the difference.


Leave A Comment